Building an outdoor kitchen next to your pool isn’t just about cooking outside, it’s about creating a functional hub that keeps everyone together. No more running back and forth between the grill and the pool while burgers burn or guests wander off. A well-planned poolside kitchen consolidates prep, cooking, serving, and cleanup in one zone, letting hosts stay part of the action instead of disappearing inside for 20 minutes. Whether you’re planning a full masonry build with a pergola or a modular setup on a concrete pad, the key is balancing convenience with durability in a wet, high-traffic environment.
Table of Contents
ToggleKey Takeaways
- An outdoor kitchen by the pool reduces indoor mess, eliminates constant running between spaces, and returns 50–70% of its cost at resale in warm climates when properly hardscaped and plumbed.
- Design your outdoor kitchen around a compact work triangle with the grill, prep surface, and refrigeration within 4–9 feet of each other, leaving at least 48 inches between the island and pool edge for safe passage.
- Choose moisture-resistant materials like porcelain tile countertops, 304+ stainless steel cabinetry, and pressure-treated or aluminum framing to withstand chlorine vapor, UV exposure, and wet poolside conditions.
- Essential features include a 40,000+ BTU stainless steel grill, outdoor-rated refrigerator, single-basin sink with backflow preventer, at least 36 inches of prep counter space, dimmable LED lighting, and a shade structure to keep the cook comfortable.
- Budget $3,000–$8,000 for modular setups, $10,000–$25,000 for mid-range custom builds, or $30,000–$60,000+ for high-end installations with premium materials and professional-grade appliances.
- Verify local building codes for pool barriers, GFCI electrical protection within 20 feet of water, and gas line setbacks; hire licensed professionals for utility runs and structural work to ensure compliance and avoid costly fines.
Why Add an Outdoor Kitchen Near Your Pool?
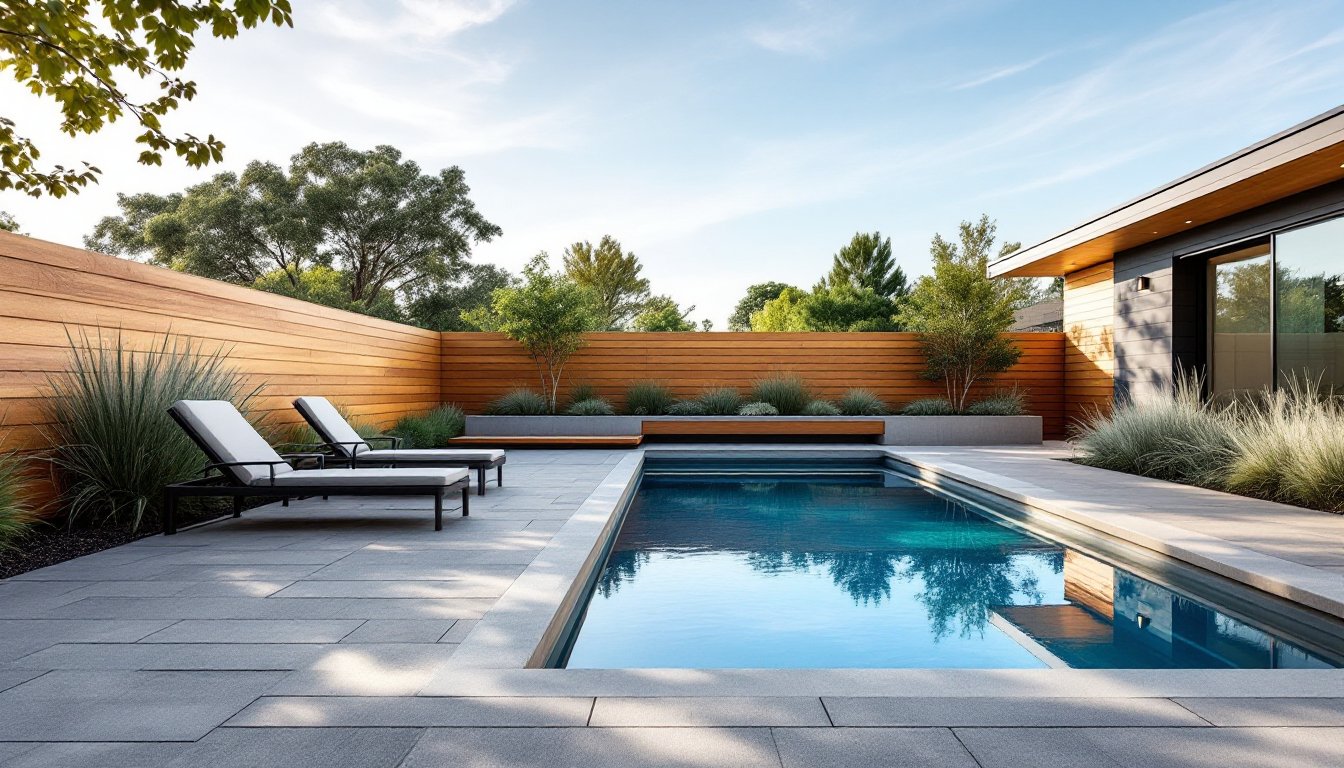
An outdoor kitchen by the pool shortens the loop between cooking and swimming, which matters more than most homeowners realize. Wet kids tracking chlorine through the house to grab snacks, soggy towels piled on indoor furniture, and constant door-slamming all disappear when food and drinks stay outside.
From a property value standpoint, outdoor kitchens return roughly 50–70% of their cost at resale in most markets, with higher ROI in warm climates where year-round use is realistic. Appraisers treat them as permanent improvements if they’re hardscaped and plumbed, not just a grill on wheels.
Functionality drives the decision. A poolside kitchen keeps the cook visible and engaged, reduces indoor cooling loads during summer (less oven and stovetop heat), and contains the mess outdoors where cleanup is easier. It also extends usable hours: morning coffee by the water, lunch without dripping through the house, evening appetizers without losing the sunset.
Safety plays a role, too. Keeping food prep and cooking outside means fewer slip hazards from wet feet on kitchen tile, and kids can grab what they need without navigating slick indoor floors in swimsuits.
Essential Design Considerations for Pool-Side Kitchens
Layout and Spatial Planning
Start by mapping the work triangle: grill, prep surface, and refrigeration should form a compact zone within 4–9 feet of each other. Any wider and you’re walking marathons: any tighter and two people can’t work simultaneously.
Minimum clearances matter. Leave at least 48 inches between the kitchen island and the pool edge, enough room for someone carrying a platter to pass a wet swimmer without collision. If local codes require pool barriers (most jurisdictions mandate them for pools over 18 inches deep), confirm your kitchen layout doesn’t create a climbing hazard or block required gates.
Place the kitchen upwind from the pool based on prevailing breezes. Smoke drifting into swimmers’ faces or over the waterline creates complaints and stains pool furniture. Check wind patterns over a few weeks before finalizing placement.
Utility runs add cost and complexity. Gas lines require licensed plumbers in most areas and must meet NFPA 54 setback requirements from structures. Electrical should be GFCI-protected per NEC Article 680.22 (outlets within 20 feet of pool water need ground-fault protection). Water supply lines must be freeze-protected if you’re in a climate with hard winters, either bury below frost line (typically 36–48 inches depending on region) or install blow-out valves for seasonal drains.
Material Selection for Wet Environments
Moisture, UV exposure, chlorine vapor, and splashing mean materials that work indoors fail fast poolside.
Countertops: Skip granite unless you’re committed to annual sealing. Porcelain tile, concrete (sealed with penetrating siloxane), or quartzite handle pool chemistry and weather better. Marine-grade polymer or composite tops work for budget builds but check UV ratings, cheap versions yellow or crack within three seasons.
Cabinetry: Standard wood or MDF cabinets warp and delaminate. Use marine-grade polymer cabinets (brands like Trex or similar polyethylene options), stainless steel (304-grade minimum: 316 for coastal areas with salt air), or masonry bases with stucco or tile finish. If you’re set on a wood look, specify exterior-grade teak or ipe with multiple coats of spar varnish reapplied yearly.
Framing and structure: If building an overhead structure for shade, use pressure-treated lumber rated for ground contact (0.40 pcf retention minimum) or powder-coated aluminum. Standard pine or untreated cedar won’t last. Many poolside kitchen designs incorporate pergolas with weather-resistant slats that balance shade and airflow.
Flooring: Extend the pool deck material or use slip-resistant porcelain pavers, textured concrete, or natural stone with a flamed or brushed finish. Avoid smooth sealed concrete (turns into a skating rink when wet) and composite decking near grills (heat warps it).
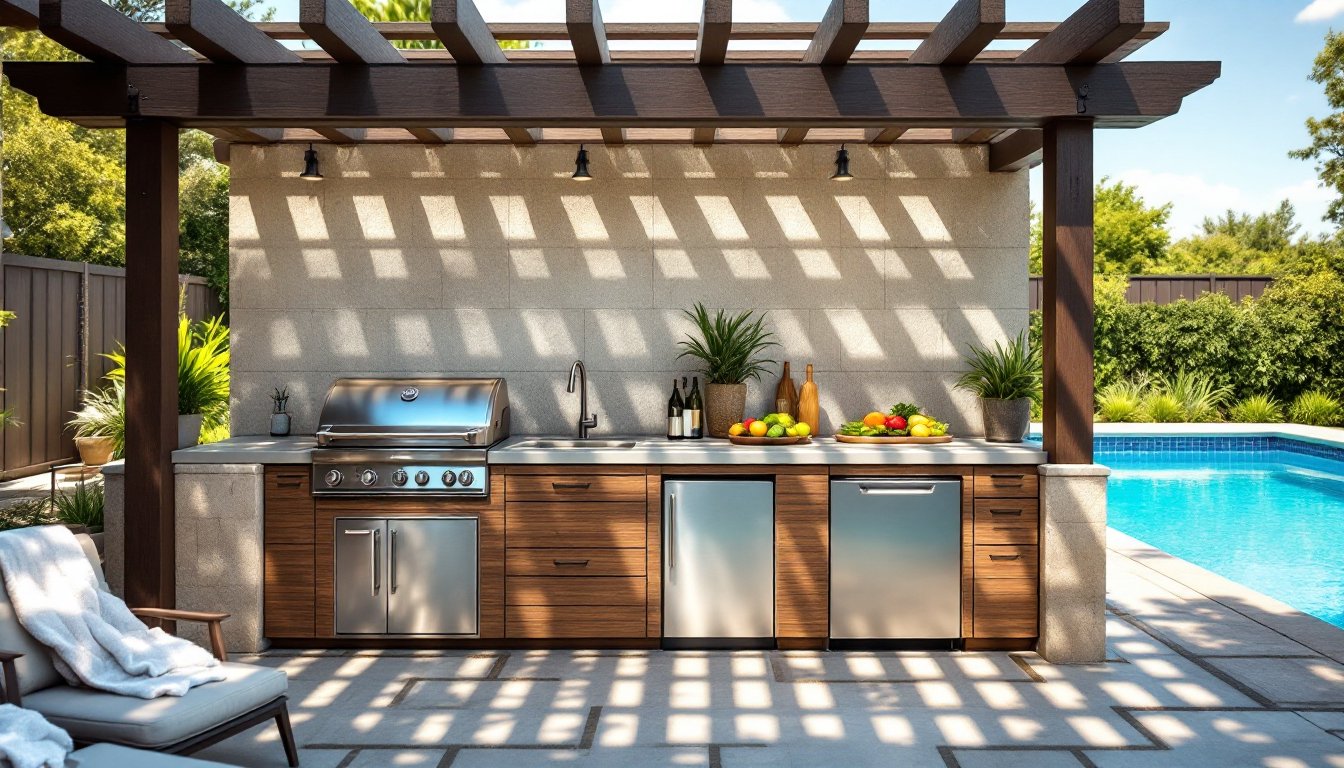
Must-Have Features for Your Poolside Outdoor Kitchen
Not every feature belongs in every kitchen, but these consistently deliver value:
Built-in grill: Go for a stainless steel grill with at least 400 square inches of cooking surface and a minimum 40,000 BTU output. Cast stainless grates outlast cast iron in humid environments. Drop-in models integrate cleaner than freestanding, but confirm the countertop substrate can handle the heat, some require an insulated jacket or air gap.
Refrigeration: A weatherproof outdoor-rated refrigerator (not a garage/indoor unit moved outside) prevents compressor failure. Look for units with stainless steel exteriors and interior ventilation designed for ambient temps up to 100°F. Undercounter models (24-inch width is standard) tuck into base cabinets: full-size units need separate weatherproof enclosures.
Sink with hot and cold water: A single-basin stainless sink (18-gauge or heavier) with a pull-down faucet handles veggie rinsing, hand washing, and quick cleanups. Install a grease trap or filter basket in the drain line to prevent clogs, poolside cooking generates more grease splatter than most anticipate. Don’t forget an inline backflow preventer if code requires it (most municipalities do when outdoor plumbing connects to potable supply).
Storage: Enclosed base cabinets keep propane tanks, utensils, and dry goods protected. Include at least one drawer with a cutlery divider and one cabinet wide enough for a trash pullout (35-quart minimum). Many successful outdoor kitchen layouts emphasize hidden storage to reduce visual clutter.
Counter space: Plan for at least 36 linear inches of uninterrupted prep surface adjacent to the grill. If space allows, an L-shaped or U-shaped layout provides landing zones on both sides of the cooktop, critical when juggling multiple dishes.
Lighting: Install dimmable LED strips under counters and inside cabinets, plus downlights over the grill and prep zones (minimum 500 lumens). Use fixtures rated for wet locations (UL 1598 certification). Separate switching for task and ambient lighting gives flexibility for late-night swims versus dinner prep.
Shade structure: Even in temperate climates, direct sun on cooktops and workers makes cooking miserable by mid-afternoon. A 10×12-foot pergola or cantilevered shade sail over the main work zone drops perceived temperature by 15–20°F. Retractable awnings work but require annual maintenance on the mechanism.
Optional upgrades worth considering: A side burner (10,000–15,000 BTU) for sauces or corn, a warming drawer to hold finished food, a beverage cooler or kegerator, built-in cutting boards that slide over the sink, and electrical outlets with flip-up weatherproof covers for blenders or speakers (20-amp circuits handle most appliances).
Budgeting and Cost Breakdown for Your Project
Costs vary wildly based on size, materials, and whether you’re DIYing or hiring out.
Budget tier ($3,000–$8,000): Modular drop-in grill island kit on a concrete pad you pour yourself, basic stainless grill (300-series), mini-fridge, no plumbing. You supply labor: a contractor handles gas/electrical tie-ins.
Mid-range ($10,000–$25,000): Custom masonry base with stucco or stone veneer, built-in grill (40,000 BTU+), outdoor-rated refrigerator, sink with hot/cold water, basic pergola, quartz or concrete countertop. Most homeowners hire a mason and plumber: DIYers can tackle the pergola and countertop install.
High-end ($30,000–$60,000+): Full custom design with premium materials (quartzite tops, 316 stainless cabinets, professional-grade grill with rotisserie and infrared burners), tile or natural stone facade, fully plumbed sink with instant hot water, beverage center, warming drawer, upgraded lighting, and a timber-frame or louvered-roof pergola. Includes permits, utility trenching, and professional installation. Adding features like outdoor pizza ovens or bar seating pushes budgets higher.
Cost drivers to watch:
- Utility runs: Trenching gas, water, and electrical lines 50+ feet from the house can add $2,000–$5,000 depending on obstacles and depth requirements.
- Permits: Expect $200–$800 for building permits if adding permanent structures or modifying plumbing/gas. Electrical permits run $50–$150. Skipping permits risks fines and complicates future home sales.
- Site prep: If the existing pool deck can’t support the kitchen’s weight (masonry islands weigh 800–1,200 pounds), you’ll need a new footing or slab, add $1,500–$3,500.
- Appliances: A basic drop-in grill costs $400–$1,200: professional models run $3,000–$8,000. Outdoor fridges range from $800 (mini) to $2,500+ (full-size).
DIY vs. contractor: Handy homeowners can assemble modular kits, build pergolas, and install countertops (saving 30–40% on labor). Gas line work, electrical beyond surface conduit, and structural masonry typically require licensed trades. Mixing DIY and pro help keeps budgets realistic while ensuring code compliance.
Conclusion
A poolside outdoor kitchen pays off in daily convenience and long-term property value when built with the right materials and layout. Prioritize durability, code compliance, and a work triangle that keeps the cook engaged with guests. Whether tackling a modular setup over a weekend or commissioning a custom masonry build, the result should feel like a natural extension of the pool area, functional, weatherproof, and ready for years of use.