A double-hung window that won’t stay open is more than a minor annoyance, it’s a sign that the balances inside the jamb have worn out or snapped. Window balances (sometimes called sash balances) are the spring-loaded or weighted mechanisms that counterbalance the weight of the sash, making it easy to raise and lower. When they fail, you’ll end up propping windows with paint sticks or avoiding certain rooms altogether. The good news? Replacing window balances is one of those projects that looks intimidating but is genuinely accessible to most DIYers with basic hand tools and an afternoon to spare.
Table of Contents
ToggleKey Takeaways
- Window balance replacement is an accessible DIY project for most homeowners using only basic hand tools and an afternoon to spare.
- Failing window balances are identified by a sash that won’t stay open, tilts to one side, or feels unusually heavy—signs that springs have lost tension or internal mechanisms have broken.
- Selecting the correct replacement window balance parts is critical: you must match the type, length, sash weight rating, and manufacturer specifications exactly, or the sash won’t hold properly.
- The installation process involves removing the old sashes and balances, inserting new balances into the jamb channels, reattaching them to the sash with proper tension, and testing movement before reassembly.
- The most common mistake is using the wrong weight rating for window balance replacement, which causes the sash to either creep down or become too difficult to close.
What Are Window Balances and Why Do They Fail?
Window balances are the hidden workhorses of modern double-hung windows. They sit in channels on either side of the window sash and use springs, coils, or block-and-tackle systems to counterbalance the weight of the glass and frame. Without them, a raised sash would drop like a guillotine the moment you let go.
There are a few common types:
- Spiral (tube) balances: A spiral rod inside a tube, twisted by a spring. Common in vinyl and aluminum windows.
- Block-and-tackle balances: A pulley system with a spring-loaded mechanism. Found in many modern double-hung windows.
- Channel balances: Spring-loaded metal channels. Typical in older wood and some vinyl windows.
- Constant force (coil) balances: A coiled metal strip that extends and retracts. Less common but durable.
Balances fail for a few predictable reasons. Springs lose tension over time, especially in windows that see heavy use or extreme temperature swings. UV exposure and humidity can degrade plastic components. In older homes, rust or paint buildup can seize the mechanism. And sometimes, a sash that’s been painted shut gets forced open, snapping the balance outright.
When one side fails, the sash tilts or drags. When both go, the window won’t stay open at all. Ignoring it isn’t just inconvenient, it can warp the sash or crack the glass if it slams shut unexpectedly.
How to Identify When Your Window Balances Need Replacement
You don’t need a contractor to tell you something’s off. The signs are pretty obvious once you know what to look for.
The sash won’t stay open. This is the classic symptom. You raise the window, and it slowly (or rapidly) slides back down. That’s a dead spring or broken balance.
The sash tilts to one side. If one balance has failed but the other is still holding on, the window will cock at an angle. This puts uneven stress on the frame and can crack the glass if left unaddressed.
Visible damage or corrosion. Pull the sash out (most tilt inward) and inspect the balances in the jamb channels. Look for rust, frayed cords, snapped springs, or cracked plastic housings.
Unusual noise or resistance. A grinding, squeaking, or popping sound when you raise or lower the sash usually means the balance mechanism is binding or has come apart internally.
The window feels heavier than usual. If lifting the sash suddenly requires real effort, the balances aren’t doing their job anymore.
Before you assume it’s the balances, check for paint seal or debris in the tracks. Sometimes a thorough cleaning and lubrication is all it takes. But if the sash moves freely and still won’t hold position, it’s time for window balancer replacement.
Tools and Materials You’ll Need for Window Balance Replacement
This isn’t a tool-heavy project. Most homeowners already have what they need in the garage.
Tools:
- Flathead screwdriver or putty knife (to pop out sash stops and covers)
- Phillips screwdriver
- Utility knife (for cutting paint seal if needed)
- Tape measure
- Pliers (for removing old balances, especially spiral types)
- Safety glasses
Materials:
- Replacement window balance replacement parts (must match the type, length, and weight rating of your originals, see below)
- Painter’s tape (to mark sash position)
- Silicone spray or dry lubricant (optional, for reassembly)
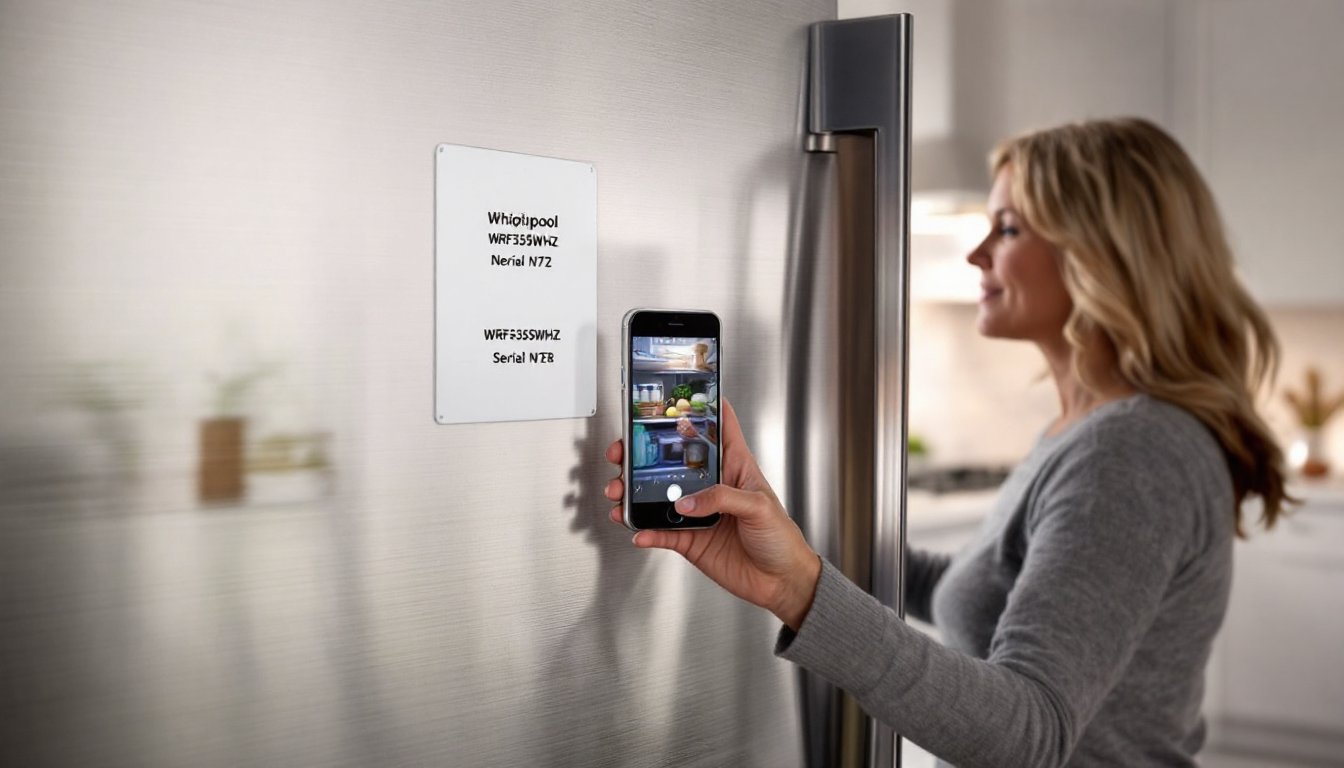
Selecting the right balances is critical. You can’t just eyeball it. Remove one of the old balances and bring it to a hardware store or window supply shop, or measure these specs:
- Type (spiral, block-and-tackle, channel, etc.)
- Length (measure the metal tube or channel, not including mounting hardware)
- Sash weight (weigh the sash on a bathroom scale, then divide by two, that’s the load each balance must support)
- Manufacturer markings (if visible, note the brand and part number)
Most balances are stamped with a color code or number indicating their weight rating. Match it exactly. An undersized balance won’t hold the sash: an oversized one can make it hard to close.
If you’re replacing balances in multiple windows, buy a few extra. Shipping delays or incorrect parts happen, and you don’t want to leave a window propped open for two weeks.
Step-by-Step Guide to Replacing Window Balances
Work on one window at a time, and take photos as you disassemble. You’ll thank yourself during reassembly.
Removing the Old Window Balances
1. Remove the lower sash.
Most double-hung windows have tilt-in sashes. Look for release tabs or buttons on the top rail of the lower sash. Press them in and tilt the sash toward you. Lift it up and out of the frame.
If the sash doesn’t tilt, you may need to remove the interior sash stops (the thin vertical strips of wood or vinyl on each side of the frame). Use a putty knife or flathead screwdriver to gently pry them off. Start at the bottom and work up to avoid splitting.
2. Disconnect the old balances.
Each balance is attached to the sash with a hook, clip, or screw terminal. For spiral balances, twist the metal rod counterclockwise to release tension, then unhook it from the sash. For block-and-tackle or channel balances, disconnect the clip or terminal screw on the bottom of the sash.
Wear safety glasses. Springs can snap and recoil violently.
3. Remove the balance from the jamb.
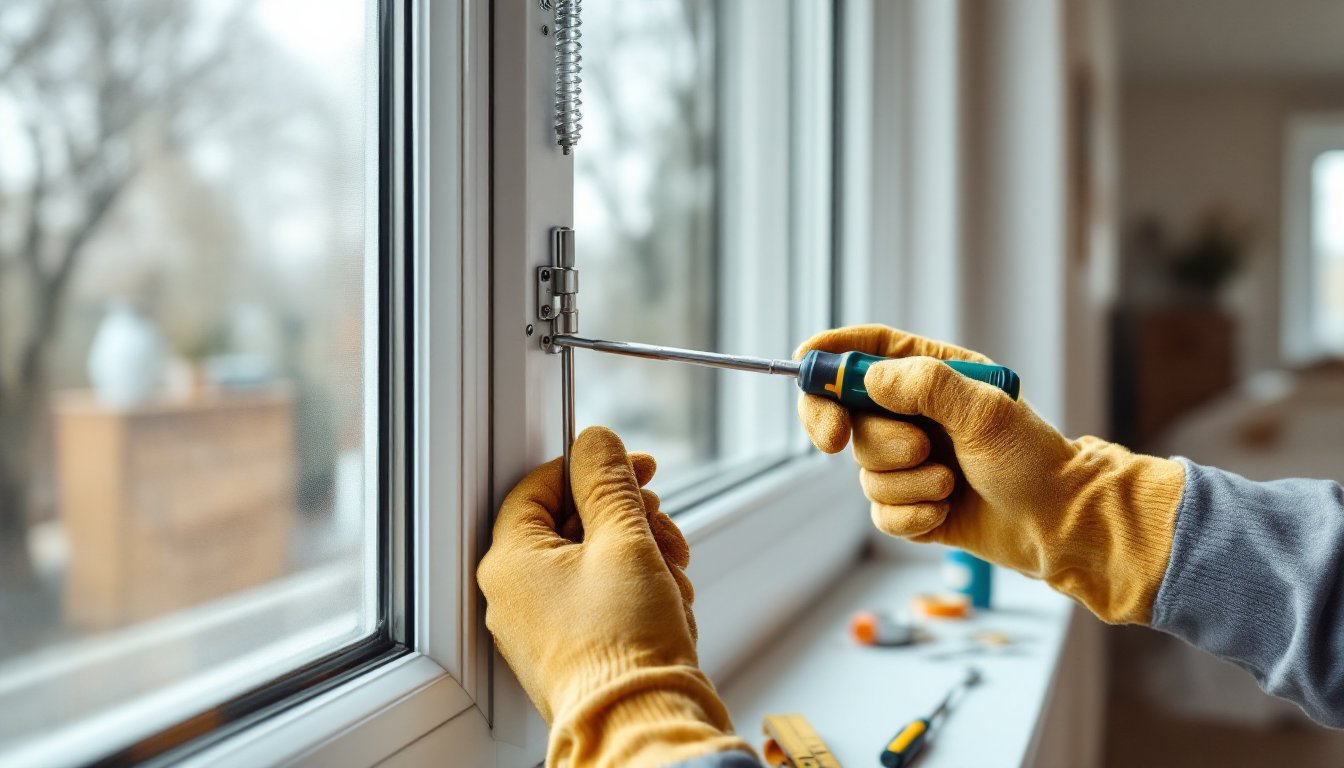
Balances are usually held in place by a screw or friction fit at the top of the jamb channel. Unscrew or pull straight down to release. If it’s stuck, a little silicone spray and gentle wiggling usually does it.
4. Repeat for the upper sash (if needed).
If both sashes are affected, or if you’re doing a full window balancer replacement while you’re in there, lower the upper sash, tilt it in, and disconnect those balances the same way.
Installing the New Window Balances
1. Insert the new balances into the jamb channels.
Slide the top of each balance into the channel and secure it with the mounting screw (if applicable). Make sure it’s seated fully and aligned vertically.
2. Attach the balances to the sash.
For spiral balances, hook the twisted rod into the terminal on the bottom of the sash, then twist clockwise to apply tension. You’ll feel resistance, that’s normal. For block-and-tackle or channel balances, clip or screw the terminal onto the sash bracket.
Make sure both sides are connected before you let go. An unbalanced sash can drop and crack.
3. Test the sash.
Carefully reinstall the sash into the frame. Raise and lower it several times. It should move smoothly and hold position at any height. If it creeps down, the balances may be undersized or not fully tensioned. If it’s hard to close, they may be too strong.
4. Reinstall sash stops (if removed).
If you removed interior stops, tap them back into place with a rubber mallet or hammer and finishing nails. Don’t overdrive the nails, you want the stops snug but not pinching the sash.
5. Repeat for the upper sash.
Follow the same steps to install balances for the upper sash. Test both sashes together to ensure they operate independently and don’t bind.
If you’re uncertain about the process, many professionals use techniques similar to those covered in detailed replacement guides for double-hung windows. For additional troubleshooting, some homeowners find step-by-step tutorials helpful when matching balance types to sash weight.
Common Mistakes to Avoid During Window Balance Replacement
Most problems come down to prep and part selection.
Using the wrong weight rating. This is the number one cause of callbacks. If the balance is too weak, the sash won’t stay open. Too strong, and it’ll be hard to close or could bow the frame over time. Always weigh the sash and match the manufacturer’s specs.
Skipping the tension adjustment (spiral balances). Spiral balances need to be twisted to load the spring. If you don’t apply enough tension, the sash will creep down. If you over-tension it, the sash will shoot up. Follow the twist count in the manufacturer’s instructions, usually 3-5 full turns per balance.
Forcing parts that don’t fit. If a balance won’t slide into the channel or the hook won’t clip onto the sash, stop. You’ve either got the wrong part or something’s obstructed. Forcing it can crack the jamb or strip the terminal.
Ignoring the upper sash. Many DIYers replace the lower balances and call it done. But if the upper sash is showing the same symptoms, it’s worth doing both at once. You’ve already got the window apart.
Not testing before reassembly. Always test the sash with the new balances before you reinstall stops or trim. It’s much easier to swap a part or adjust tension when the sash is out of the frame.
Forgetting about permits (if applicable). In most jurisdictions, replacing window balances is considered maintenance, not structural work, and doesn’t require a permit. But if you’re replacing the entire window unit or altering the rough opening, check with your local building department.
If you’re unsure whether your project requires professional help, especially in older homes with custom or non-standard windows, cost estimators and contractor matching services like HomeAdvisor can provide ballpark figures and connect you with licensed pros in your area.
Safety note: Work from a stable stepladder if you’re dealing with upper sashes. Never lean out of an open window to access the jamb. And if the window is above the first floor and you can’t safely tilt the sash in, call a pro. No repair is worth a fall.